
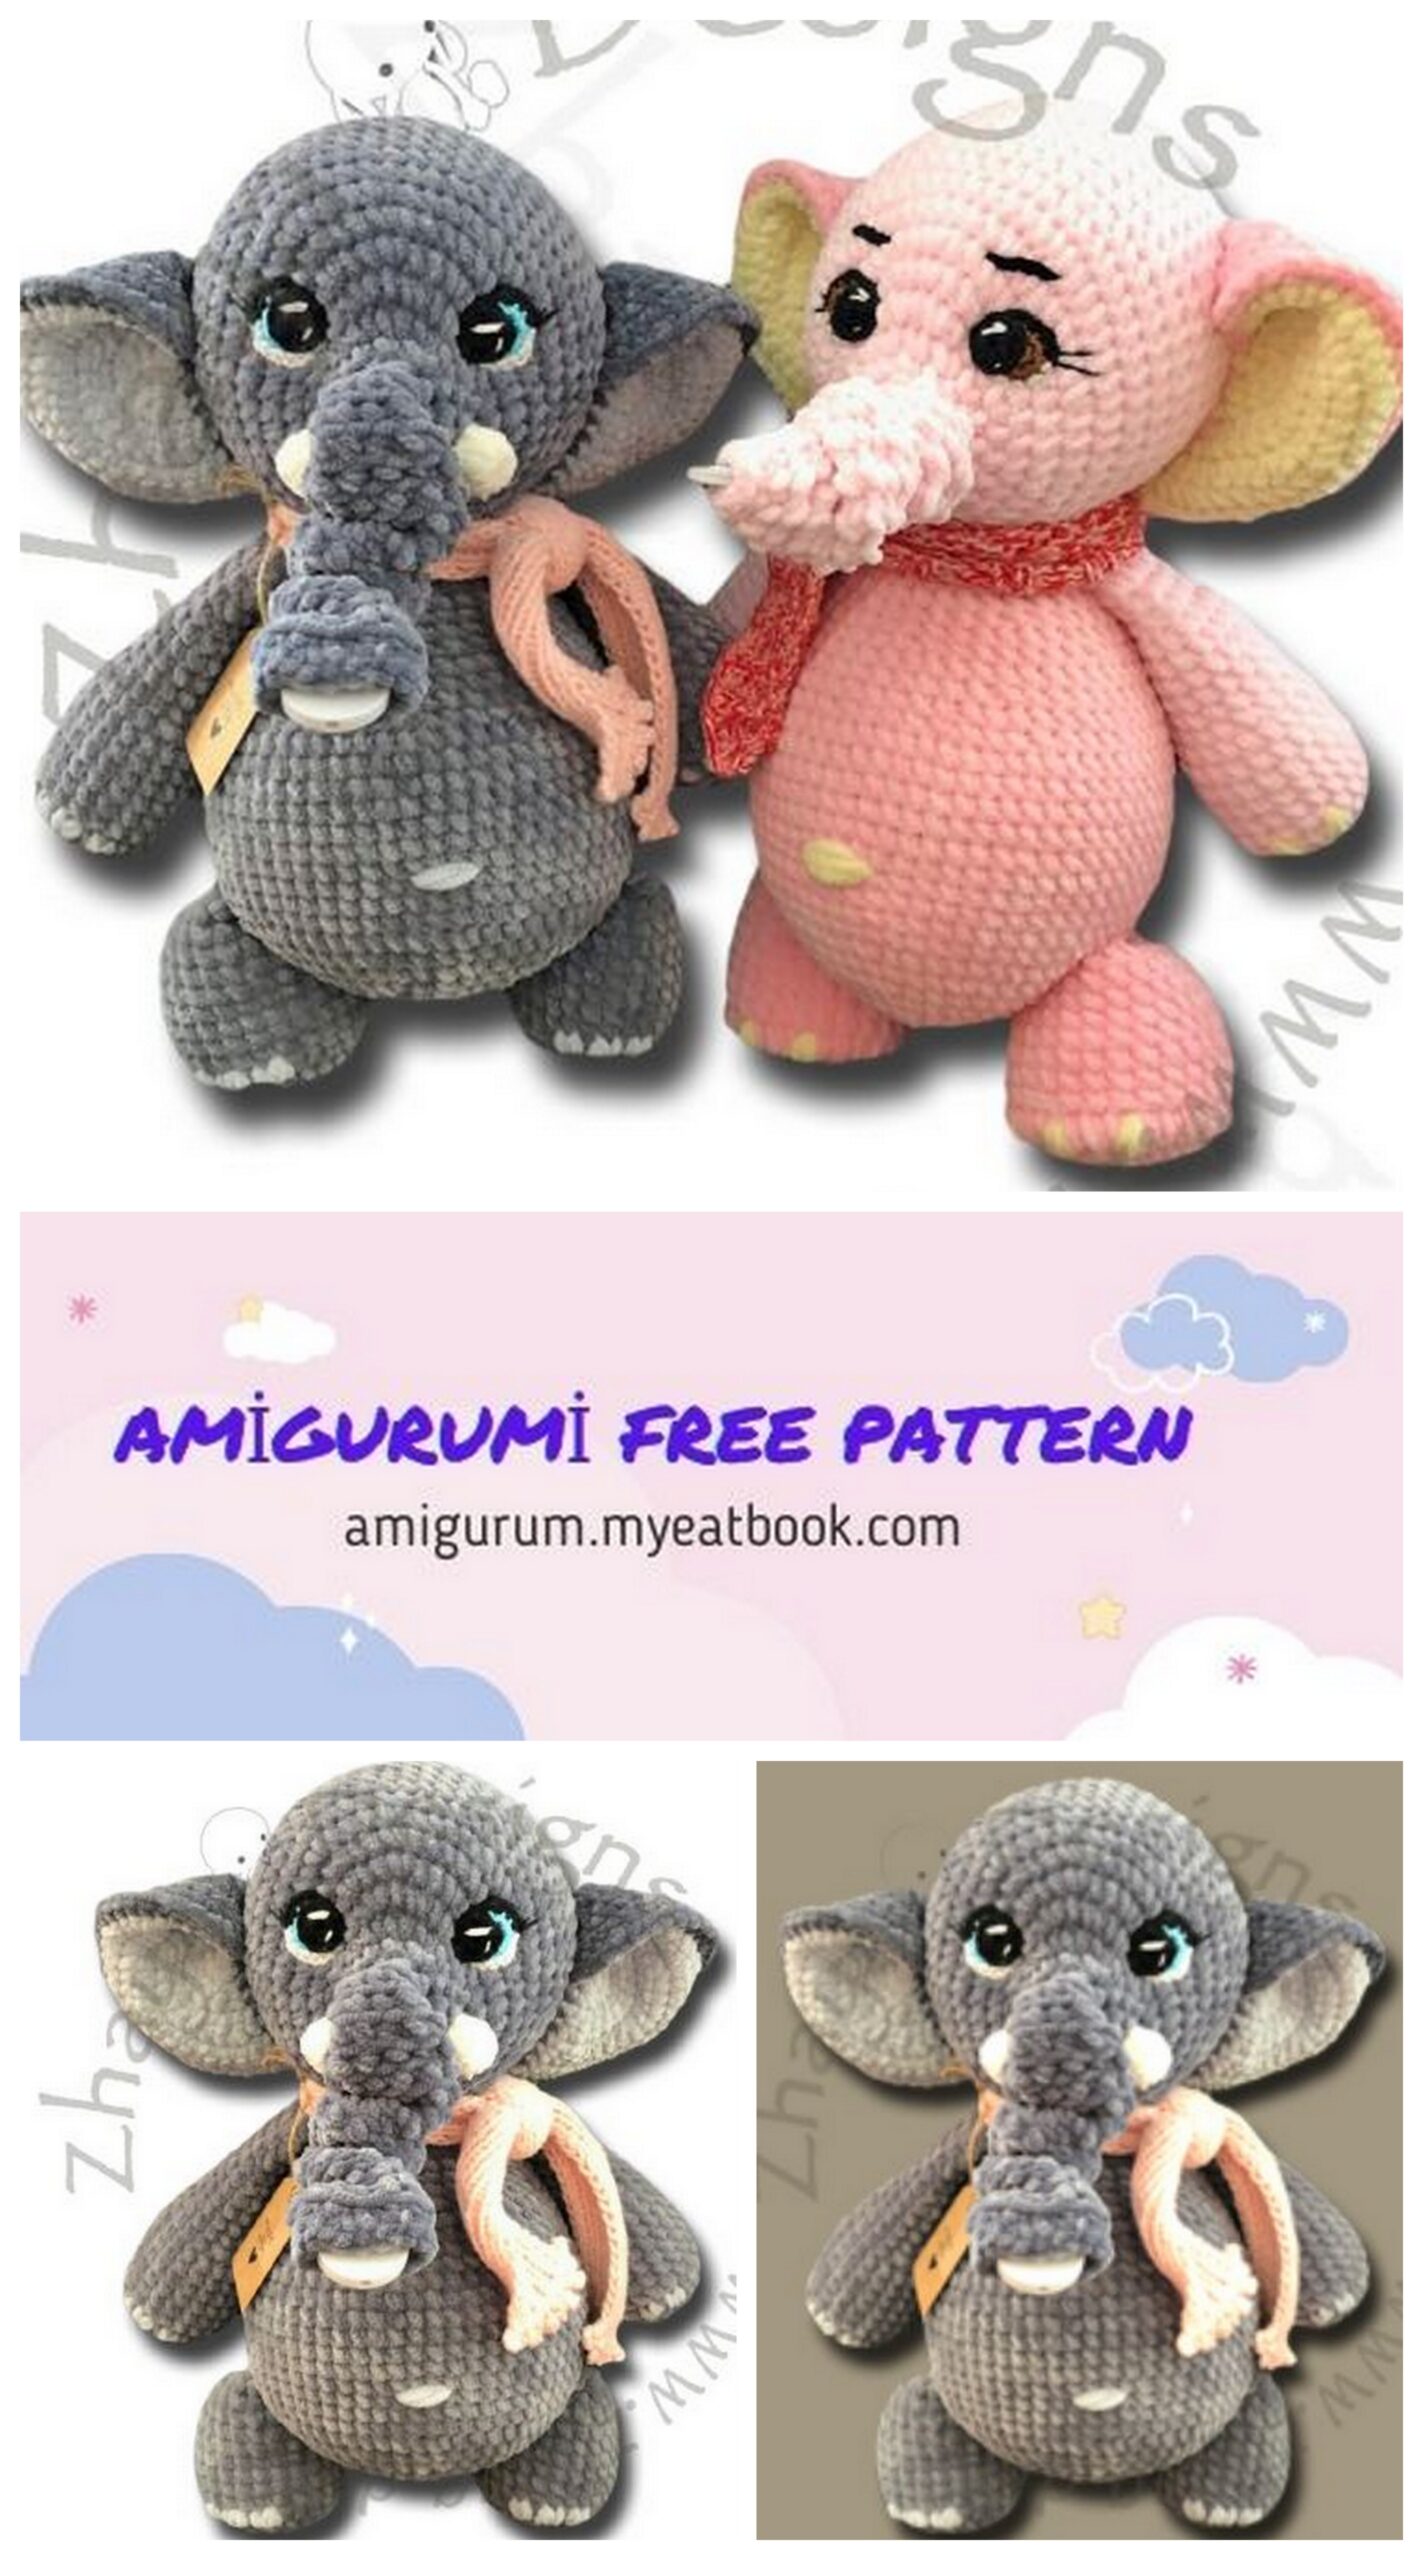
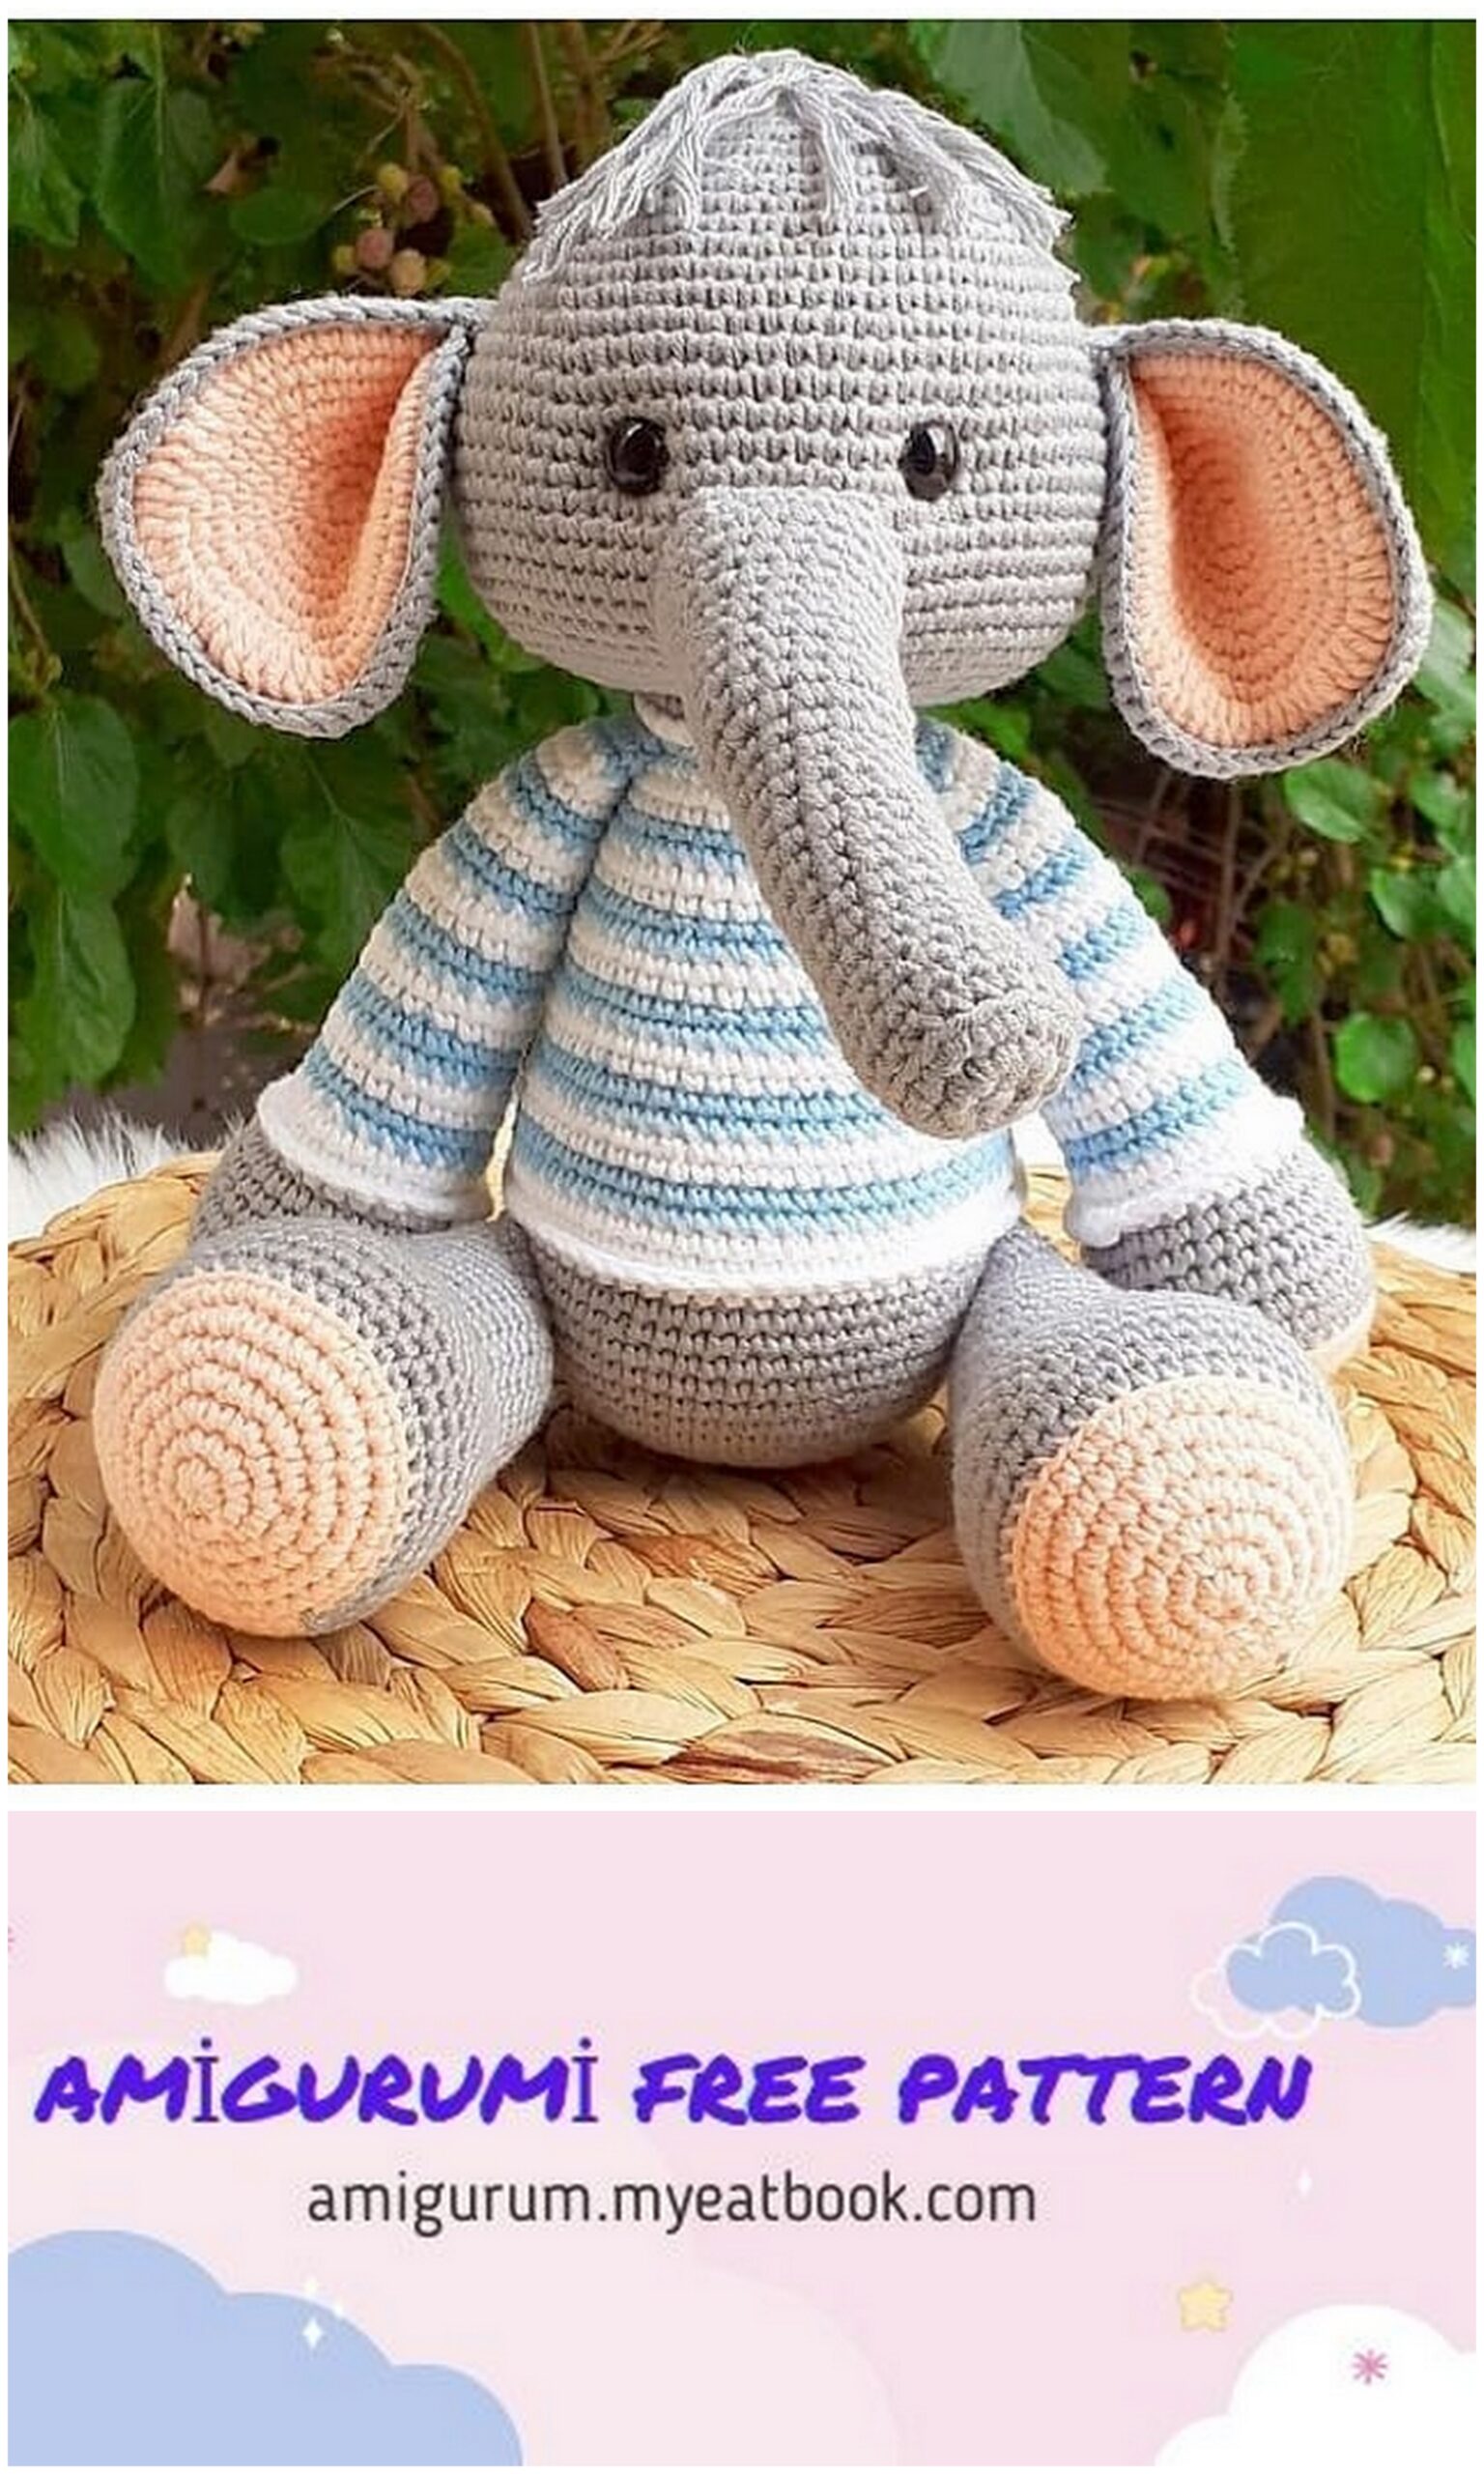
Amigurumi Elephant Free Pattern In this case I recommend to use chenille yarn – as indicated – because otherwise the result can differ significantly, which brand of yarn of course is up to you. Besides, chenille yarn is really very cuddly and only then it becomes a real plushy. The use of other yarn is of course still possible.
Materials:
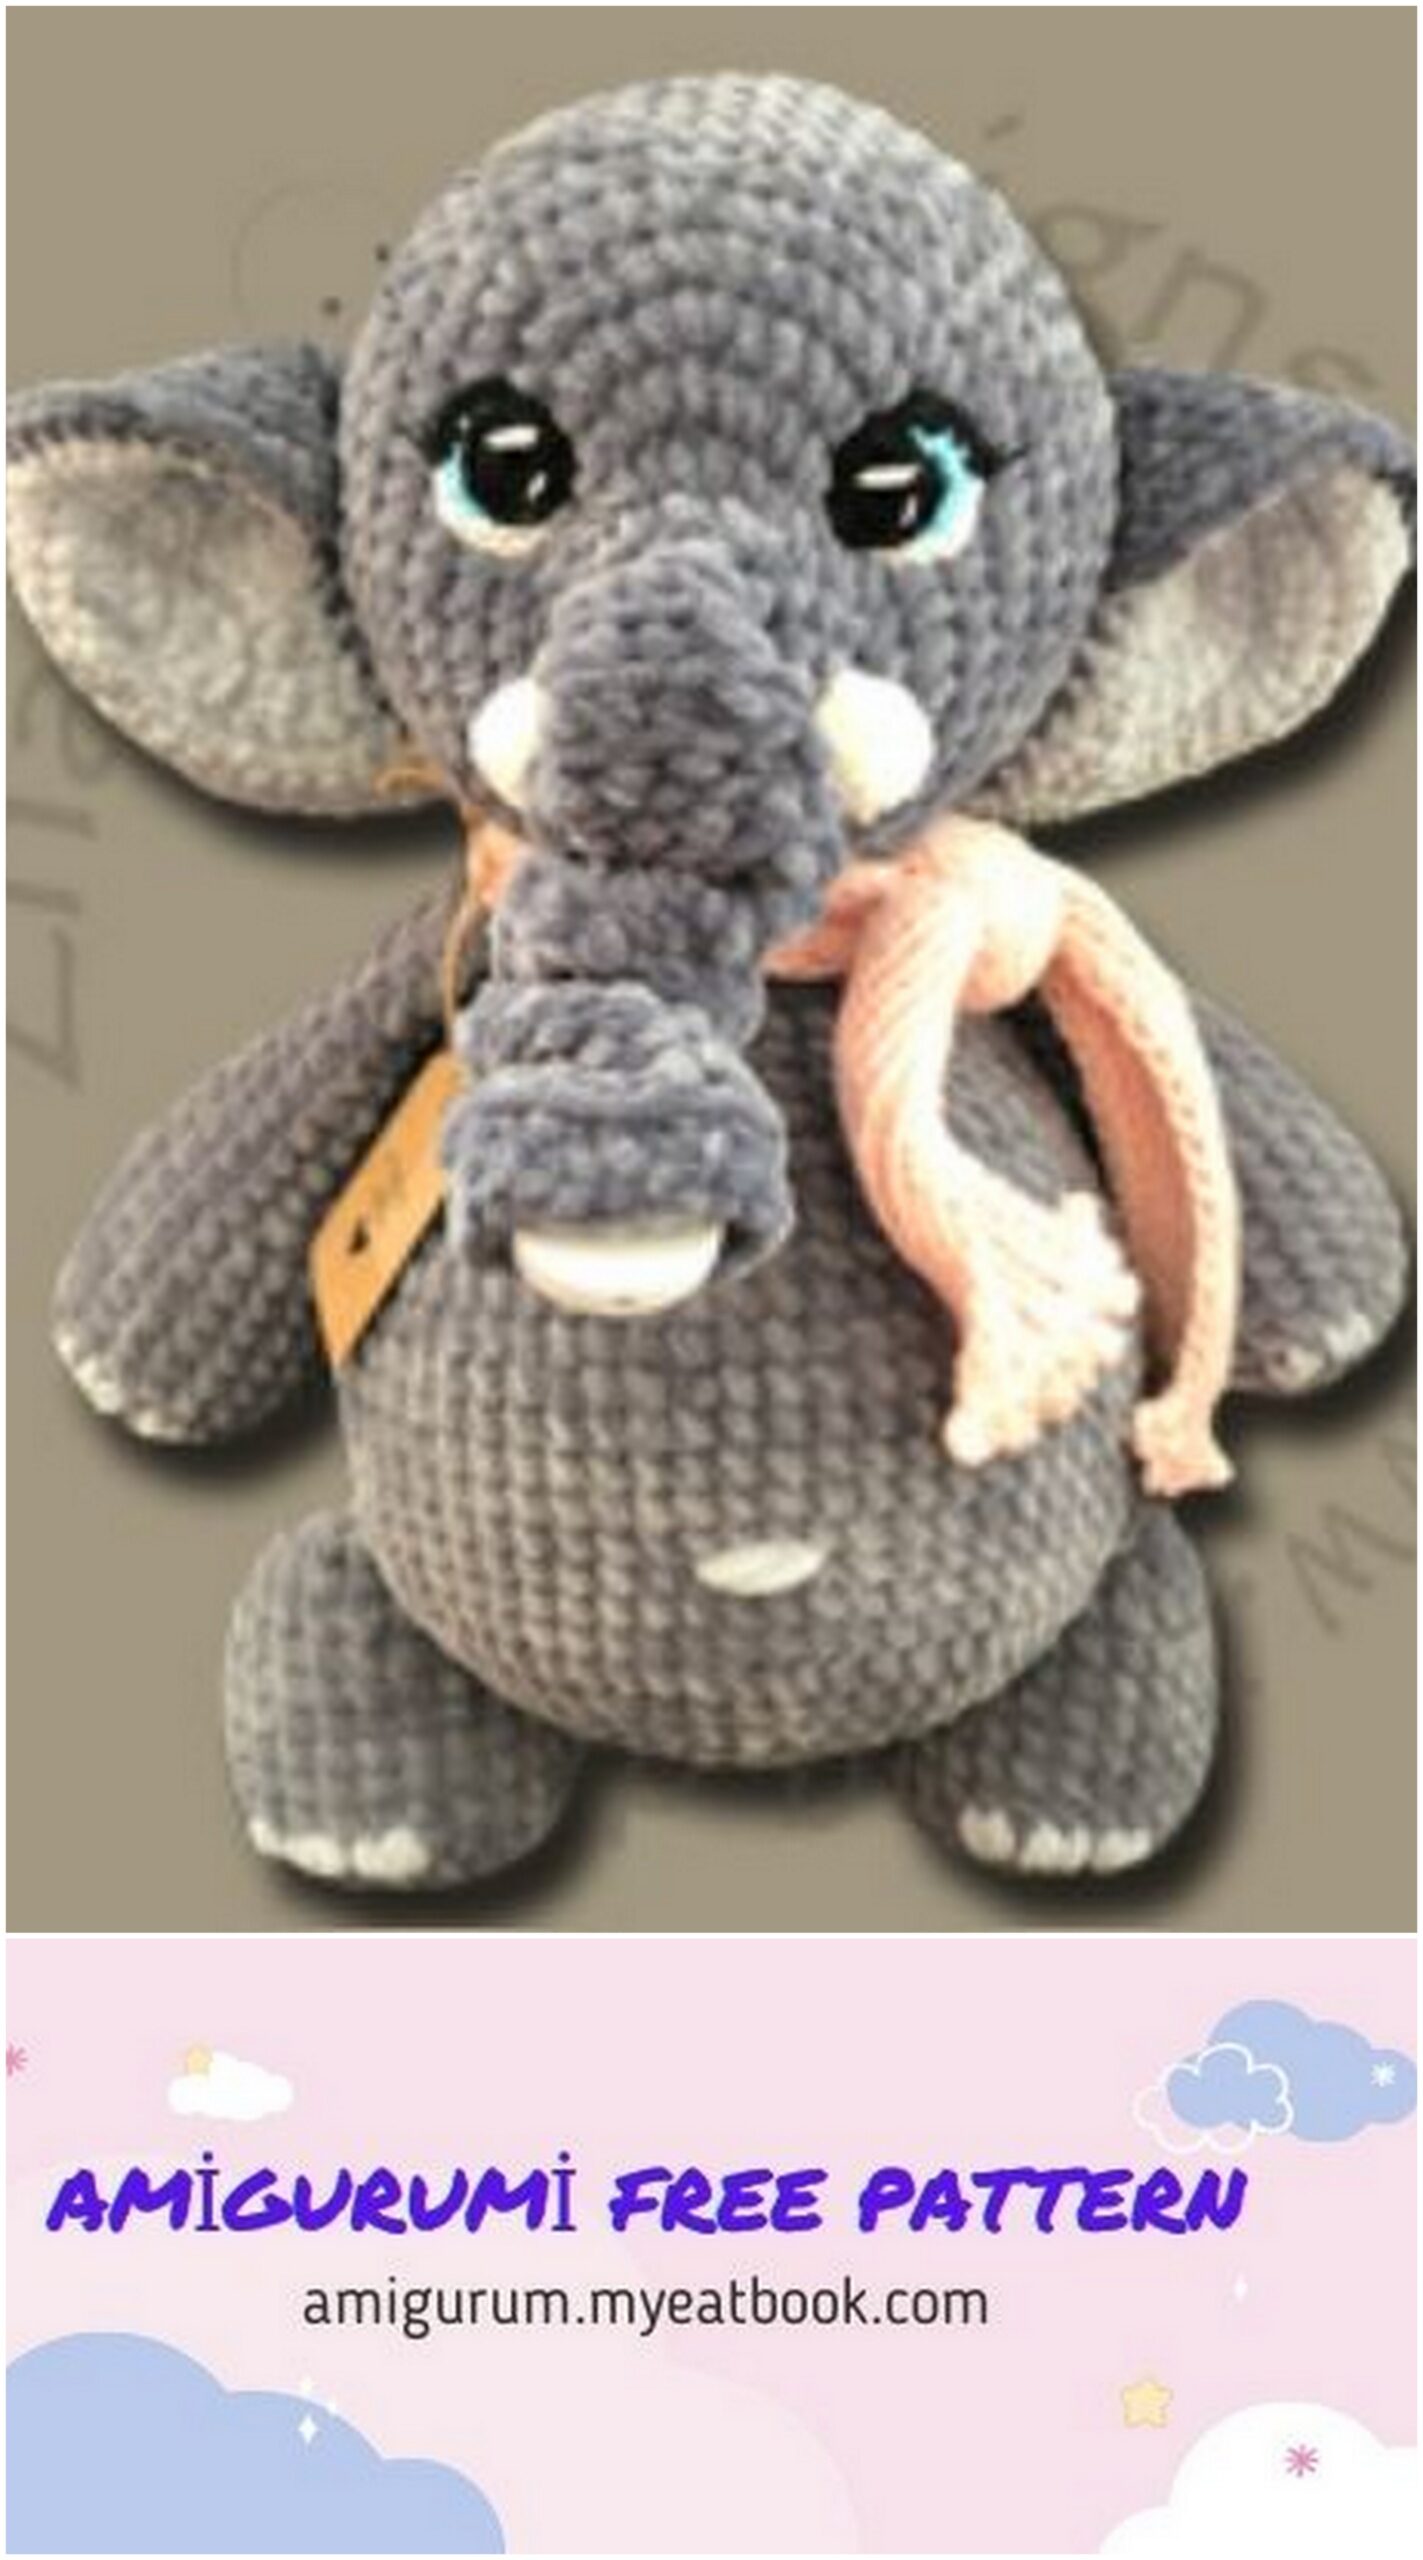
When using the suggested materials, it will be about 30 cm tall.
Please keep in mind that different yarn may result in a bigger or smaller piece. Make sure to adapt your hook size according to your yarn and personal tension. When crocheting Amigurumis you should use a much smaller needle size than indicated on the label or you would use it for other crochet projects so that no holes are made when the piece is stuffed.
• Chenille-style yarn (Super Bulky), e. g. Bernat Velvet, Himalaya Dolphin, Katia Bambi, Gründl Funny, Papataya Velvet etc., about 250 g of main color and if you like some contrasting yarn for the ears and creme, white or off-white for the tusks, some yarn (Sports weight) for the eyes – black and white and blue, green or brown
• Crochet hook in suitable size (with me: body 4 mm, trunk 5 mm, eyes 3 mm)
• Stuffing
• Musical clock (if possible a washable)
TIP: For Chenille yarn I use 2 chains instead of the Magic ring (thread ring) and crochet the required number of stitches into the first chain. A macig ring is difficult and not alwais possible to tighten with this yarn.
Abbreviations (US Terms):
MR = magic ring inc = increase
sc = single crochet dec = decrease
hdc = half double crochet st = stitch
ch = chain BLO = back loop only
slst = slip stitch FLO = front loop only
(-) x = repeat inside of () for x nr of times spike stitch (description comes below, when
you need the stitch)
Trunk closure (outside):
This part can be crocheted in contrast color or in the main color – it is almost invisible later, so this is not very important.
Regular hook size (with me 4 mm)
1. ch 2, sc 6 in 2nd ch from hook (6)
2. inc x6 (12)
Fasten off, weave in loose ends.
Trunk clousure (inside):
Color doesn’t matter, you won’t see it later.
Regular hook size (with me 4 mm)
1. ch 2, sc 6 in 2nd ch from hook (6)
2. inc x6 (12)
3. (sc 1, inc) x6 (18)
Fasten off, weave in loose ends.
Trunk/head:
Main color
Use a bigger hook size (with me 5 mm) to make the fabric more flexible.
1. ch 12, join round with slst in first st, sc 12 (12)
The trunk should be about as long as the pulled out string, if it is longer or shorter you have to crochet accordingly more or less of the following rounds.
2.-21. (20 Rounds) BLO or FLO (whichever you like better): sc in each st around (12)
From here, crochet through both loops again and switch to regular needle size (with me 4 mm).
22. (sc 1, inc) x6 (18)
Crochet together the inner trunk closure and the next head round, always crocheting through both layers (see also photos).
23. sc 6, inc x6, sc 6 (24)
24. sc 6, (sc 1, inc) x6, sc 6 (30)
25. (sc 1, inc) x, (sc 2, inc) x6, (sc 1, inc) x3 (42)
26. (sc 6, inc) x6 (48)
27. (sc 7, inc) x6 (54)
28.-37. (10 Rounds) sc in each st around (54)
38. (sc 7, dec) x6 (48)
39. (sc 6, dec) x6 (42)
First published: 06.05.2016
Before the opening becomes too small, the music box should now be inserted. I have done this at this point, otherwise it will be quite fiddly, especially if you want to sew it on. First thread the cord from the inside through the inner trunk closure (this is easiest to do with a wool needle with a big eye, but it also works without), then through the trunk and finally through the outer trunk closure (the beautiful side points away from the music box, i.e. outwards), then you attach the handle to the music box, so nothing can disappear in the trunk. If you have a music box like mine, make sure that the larger hole on the handle points outwards, the knot will be hidden inside.
IMPORTANT: remove the safety pin inside from the cord of the music box. This is not possible later.
The trunk can now retract, it is secured.
Before continuing with the head, I have sewn the music box with the eyelet inside to the bottom of the head, so it cannot slip. It should not be a problem even without this step, but better safe than sorry.
40. (sc 5, dec) x6 (36)
41. (sc 4, dec) x6 (30)
42. sc in each st around (30)
Stuff and shape the head.
43. (sc 3, dec) x6 (24)
44. (sc 2, dec) x6 (18)
45. (sc 1, dec) x6 (12)
Finish stuffing before closing. The head should be stuffed tightly, i.e. no holes visible between the stitches – that would be too much – but if you prick it with your finger, the dent should go away as quickly as you take your finger away. If dents remain, you will have to fill much more. There will be a lot, a lot of stuffing in the head.
46. dec x6 (6)
Fasten off, close, weave in loose ends.
Now close the opening on the end of the trunk, i.e. use the main color to connect the outer trunk closure to the trunk, rejoin the yarn, insert the hook from outside of the trunk first and then through one stitch of the closure piece (see picture), crochet as follows:
(sc 1, inc) x6.
Leg (make 2):
Main color
Regular hook size (with me 4 mm)
TIP: For the spike stitch (some may know it as drop single crochet stitch) used here in round 6 you do not crochet in the stitches of the previous round, but in the second last round and then crochet single crochet stitches. The working loop is pulled out a little bit, so that the stitch becomes longer and ends with the current round.
1. ch 2, sc 7 in 2nd ch from hook (7)
2. inc x7 (14)
3. (sc 1, inc) x7 (21)
4. (sc 2, inc) x7 (28)
5. sc in each st around (28)
6. spike stitch in each st around (28)
7.-14. (8 Rounds) sc in each st around (28)
15. (sc 2, dec) x7 (21)
Stuff the leg more firmly at the bottom, less stuffing towards the top, then flatten at
the top and crochet through both layers together with 10 single crochet stitches.
Fasten off, weave in loose ends.
Arm (make 2):
Main color
Regular hook size (with me 4 mm)
1. ch 2, sc 6 in 2nd ch from hook (6)
2. inc x6 (12)
3. (sc 1, inc) x6 (18)
4. (sc 5, inc) x3 (21)
5.-10. (6 Rounds) sc in each st around (21)
11. (sc 5, dec) x3 (18)
12.-16. (5 Rounds) sc in each st around (18)
First published: 06.05.2016
17. (sc 4, dec) x3 (15)
18.-21. (4 Rounds) sc in each st around (15)
Stuff the arm approx. up to half, max. ⅔, stuff more loosely towards the top, the rest of the arm is not stuffed. Now here also flatten at the top and crochet through both layers together with 7 single crochet stitches.
Fasten off, weave in loose ends.
Body:
Main color
Regular hook size (with me 4 mm)
1. ch 2, sc 6 in 2nd ch from hook (6)
2. inc x6 (12)
3. (sc 1, inc) x6 (18)
4. (sc 2, inc) x6 (24)
5. (sc 3, inc) x6 (30)
6. (sc 4, inc) x6 (36)
7. (sc 5, inc) x6 (42)
8. (sc 6, inc) x6 (48)
9. (sc 7, inc) x6 (54)
10. (sc 8, inc) x6 (60)
In the following round the prepared legs are attached by crocheting, for this in each case insert the hook first through a stitch of the leg and then through a stitch of the body.
11. sc 7, sc 10 through leg and body, sc 26 along the body, sc 10 through the
other leg and body, sc 7 along the body, for the tail (this stitches are not
counted in the round): ch 8, from 2nd ch from hook: sc 7 (60)
At the start of the following round you can join the last stitch (the one before the tail)
and the first stitch of the next round with an invisible decrease (insert hook in the
front loops of both stitches and then crochet the single crochet stitch), there will be
no hole at this point – and it is not really a decrease because you use the last stitch
twice. At the end of the round make sure that the tail is facing outwards, just
crochet into the regular stitches of the round, the stitches of the tail remain
unworked. On the pictures below you can see the last stitch before the tail and the
first stitch after it – only these two stitches will be crocheted, the tail will be moved
down (3rd photo).
12.-20. (9 Rounds) sc in each st around (60)
21. sc 16, dec, (sc 3, dec) x5, sc 17 (54)
22. sc in each st around (54)
First published: 06.05.2016
23. (sc 7, dec) x6 (48)
24. sc in each st around (48)
25. (sc 6, dec) x6 (42)
26. sc in each st around (42)
27. (sc 5, dec) x6 (36)
28. sc in each st around (36)
29. (sc 4, dec) x6 (30)
30.-31. (2 Rounds) sc in each st around (30)
In the following round the arms are attached, as before
with the legs, one stitch on the arm and one stitch on the body. The arms should be
evenly attached to the body. Since everyone crochets a little differently, you may
have to correct the place for attaching the arms, the 6 “back stitches” from the
beginning and end of the round should be in the middle of the back.
32. sc 4, sc 7 through arm and body, sc 10 along the body, sc 7 through arm and
body, sc 2 along the body (30)
33. (sc 3, dec) x6 (24)
Stuff and shape the body.
Fasten off, don’t close, weave in loose ends.
Inner ear (make 2):
Contrasting color
Regular hook size (with me 4 mm)
Crochet in rows. At the end of each row, chain 1 and turn.
1. ch 2, sc 4 in 2nd ch from hook, ch 1, turn (4)
2. inc x4, ch 1, turn (8)
3. (sc 1, inc) x4, ch 1, turn (12)
4. (sc 2, inc) x4, ch 1, turn (16)
5. (sc 3, inc) x4, ch 1, turn (20)
6. (sc 4, inc) x4, ch 1, turn (24)
7. (sc 5, inc) x4, ch 1, turn (28)
8. (sc 6, inc) x4 (32)
Fasten off, weave in loose ends.
Outer ear (Right):
Main color
Regular hook size (with me 4 mm)
Crochet in rows. At the end of each row, chain 1 and turn.
1. ch 2, sc 4 in 2nd ch from hook, ch 1, turn (4)
2. inc x4, ch 1, turn (8)
3. (sc 1, inc) x4, ch 1, turn (12)
4. (sc 2, inc) x4, ch 1, turn (16)
5. (sc 3, inc) x4, ch 1, turn (20)
6. (sc 4, inc) x4, ch 1, turn (24)
7. (sc 5, inc) x4, ch 1, turn (28)
8. (sc 6, inc) x4 (32)
Now place the outer ear on top of the inner ear, the outer ear facing you, ch 1, do not turn and crochet the following row, insert hook always through both layers:
9. (sc 7, inc) x4 (36)
Do not fasten off yet.
Hold the ear in a way that the inside is facing you and the working loop points down, then fold the upper tip (see photo) forward to the middle and pin it in place. Now pick up the working loop and crochet along the straight side, chain 1, then continue to crochet through both layers and crochet 1 single crochet stitch per row until the middle, from there you have to crochet through all 4 layers, continue to work sc 1 per row until the end of the row.
Fasten off, weave in loose ends.
Outer ear (left):
Main color
Regular hook size (with me 4 mm)
Crochet in rows. At the end of each row, chain 1 and turn.
1. ch 2, sc 4 in 2nd ch from hook, ch 1, turn (4)
2. inc x4, ch 1, turn (8)
3. (sc 1, inc) x4, ch 1, turn (12)
4. (sc 2, inc) x4, ch 1, turn (16)
5. (sc 3, inc) x4, ch 1, turn (20)
6. (sc 4, inc) x4, ch 1, turn (24)
7. (sc 5, inc) x4, ch 1, turn (28)
8. (sc 6, inc) x4 (32)
This time place the inner ear on top of the outer, the inside is facing you now, pull the working loop through the first stitch of the inner ear, ch 1, turn and crochet the following row, insert hook always through both layers:
9. (sc 7, inc) x4 (36)
Again, hold the ear in a way that the inside is facing you and the working loop points down, then fold the upper tip (see photo) forward to the middle and pin it in place. Now pick
up the working loop and crochet along the straight side, chain 1, then continue to crochet through both layers and crochet 1 single crochet stitch per row until the middle, from there you have to crochet through all 4 layers, continue to work sc 1 per row until the end of the row.
Fasten off, weave in loose ends.
optional: Tusks (make 2):
Creme, off-white or white
Regular hook size (with me 4 mm)
1. ch 2, sc 6 in 2nd ch from hook (6)
10. sc in each st around (6)
Fasten off, weave in loose ends, stuff a little if needed.
Left eye:
Sports weight yarn, eye color (e. g. blue, green, brown etc.)
Suitable hook size (with me 2.5 mm)
The eyes get especially pretty in joined rounds, meaning you start each round with a ch and join with a slst in the first stitch. Continuous rounds are also possible without any problems.
1. sc 6 in MR (6)
2. inc x6 (12)
Color change to black
3.a) (sc 1, inc) x3
Color change to white 3.b) (sc 1, inc) x3 (18)
Fasten off, leave a long tail for sewing (both, black and white).
Right eye:
Sports weight yarn, eye color (e. g. blue, green, brown etc.)
Suitable hook size (with me 2.5 mm
1. sc 6 in MR (6)
2. inc x6 (12)
Color change to white
3.a) (sc 1, inc) x3
Color change to black
3.b) (sc 1, inc) x3 (18)
Fasten off, leave a long tail for sewing (both, black and white).
Pupil (make 2):
Sports weight yarn, black
Suitable hook size (with me 2.5 mm
1. hdc 9 in MR (9)
Fasten off, leave a long tail for sewing. Sew the pupil once on the left at the eye and
once on the right (I always cover the worst area with the pupil, e.g. when you have crocheted in joined rounds.
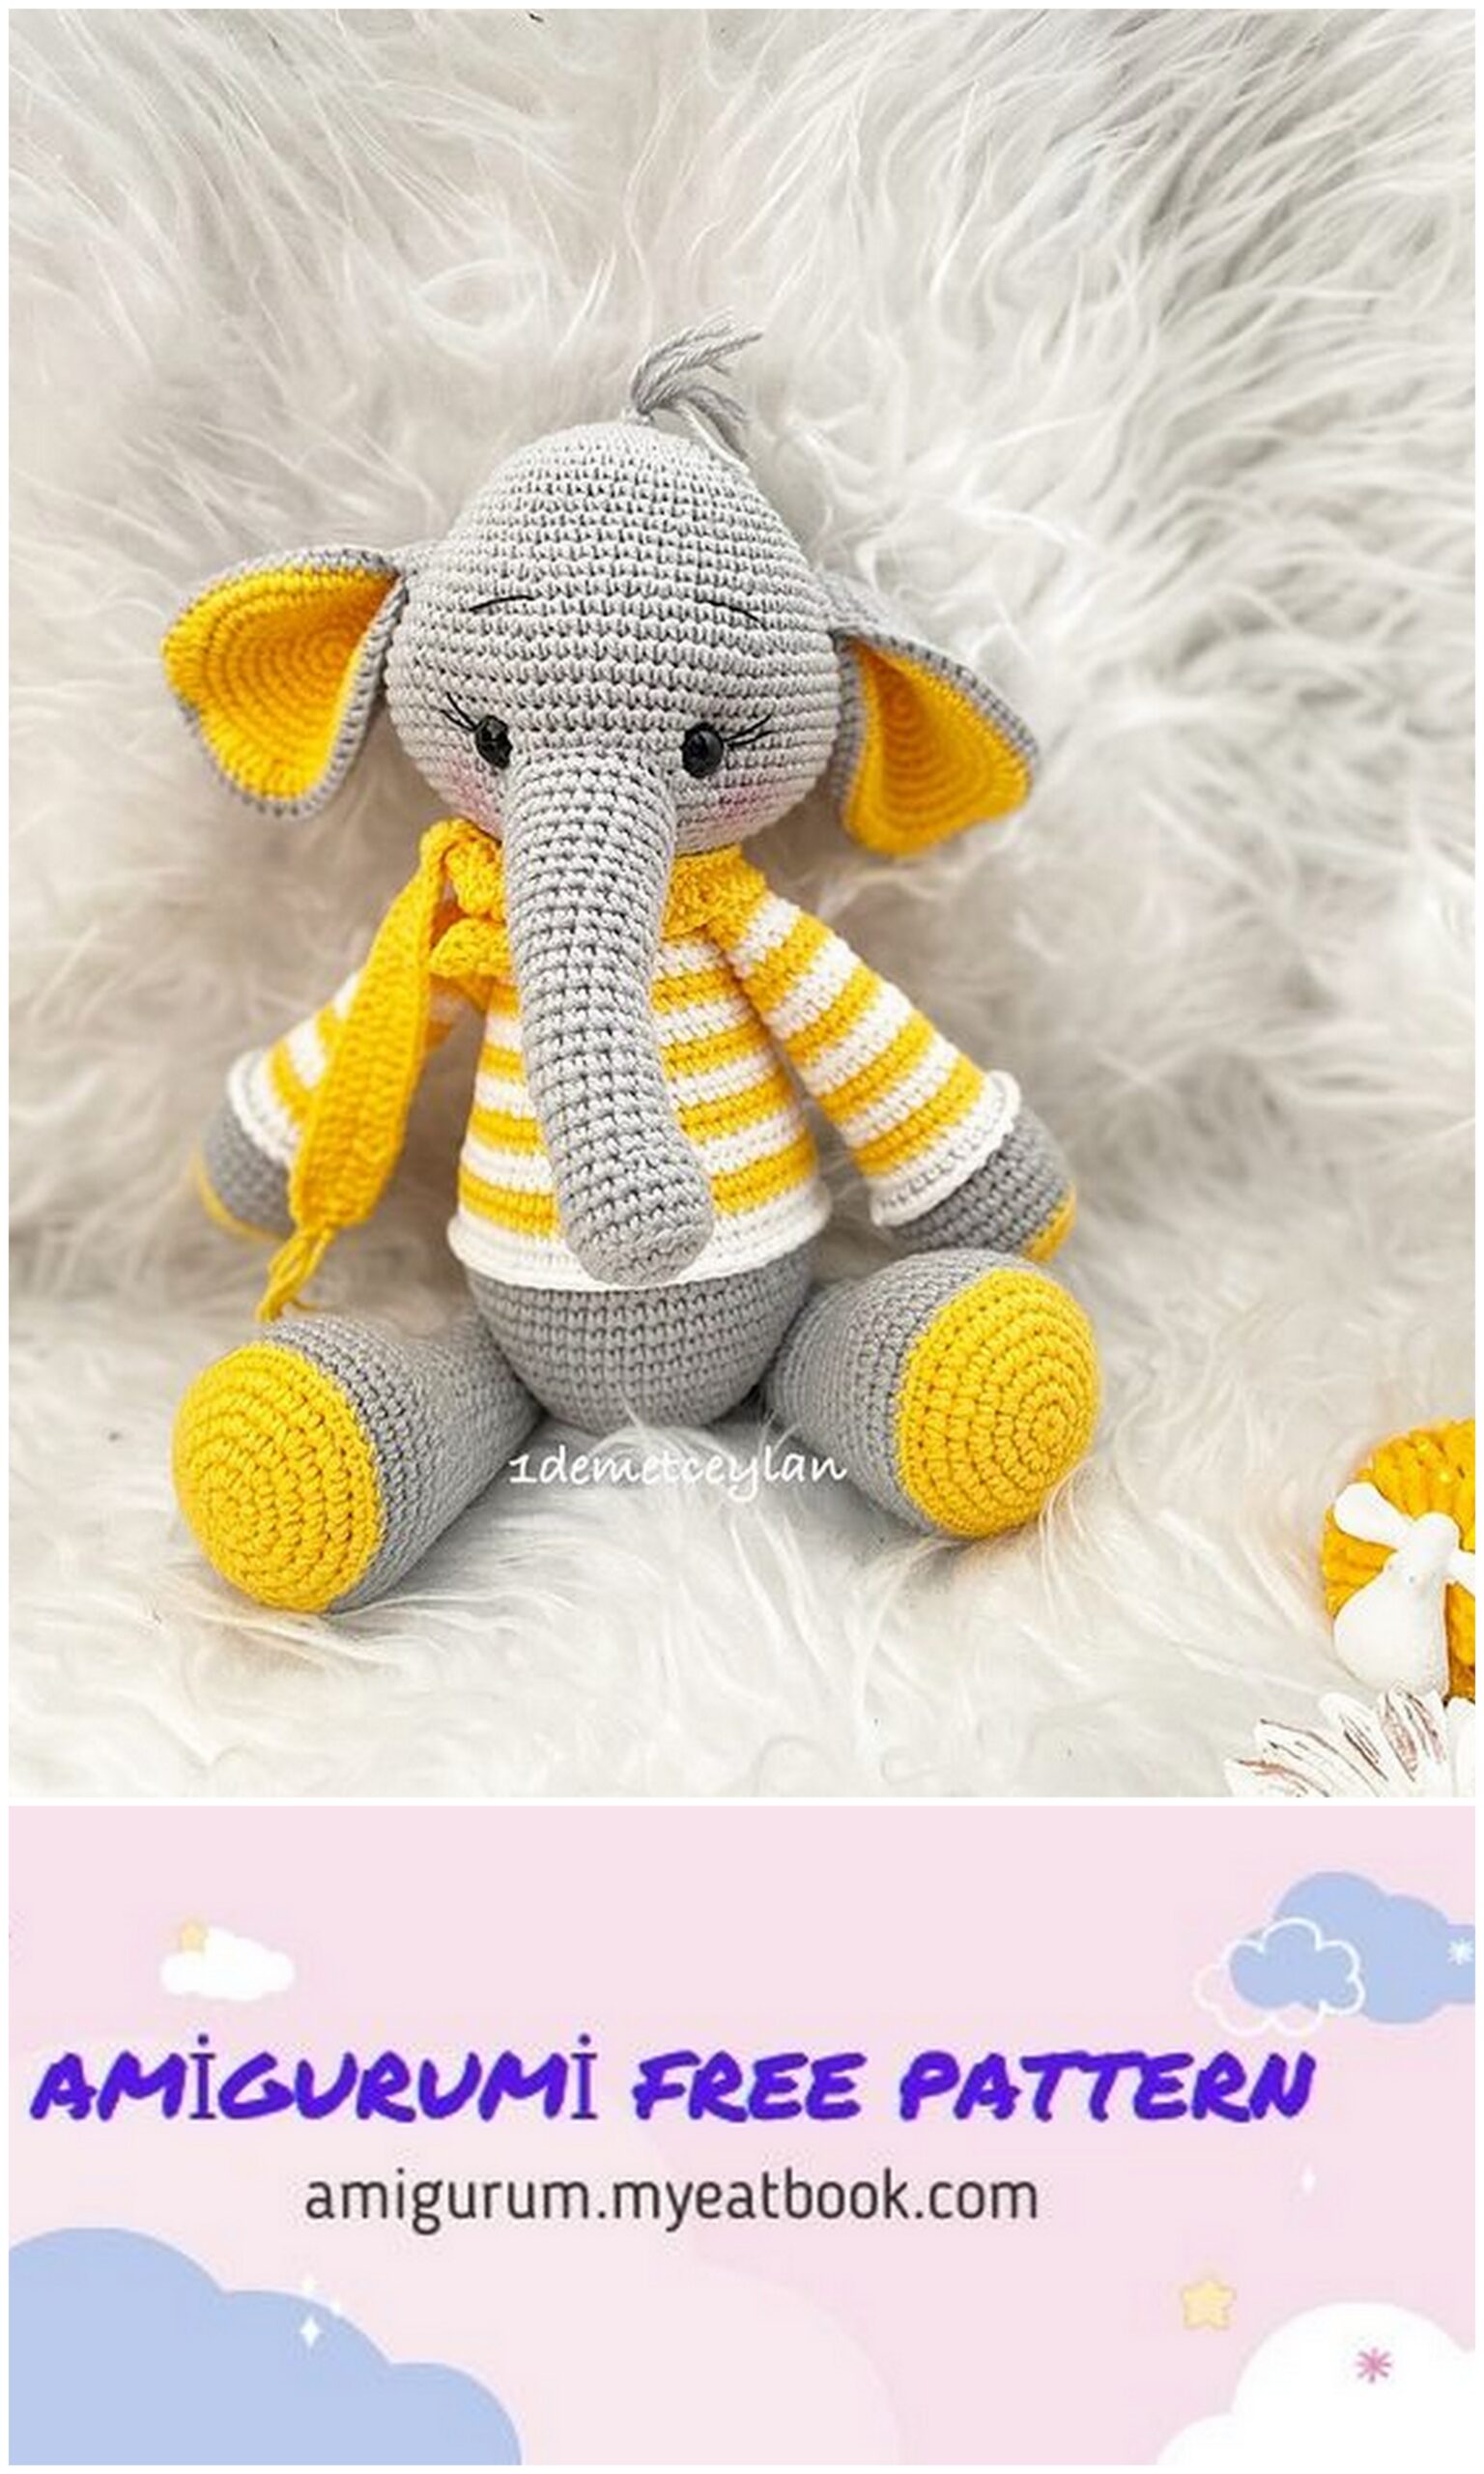
(optional) Scarf:
For the first elephant I knitted a scarf, just knit one, purl one, up to the desired length.
Of course you can also crochet a scarf, make a foundation chain in the desired length and crochet one row of single crochet stitches, then in the following rows you crochet through the back loops only and make as many rows until the desired width of the scarf is reached.
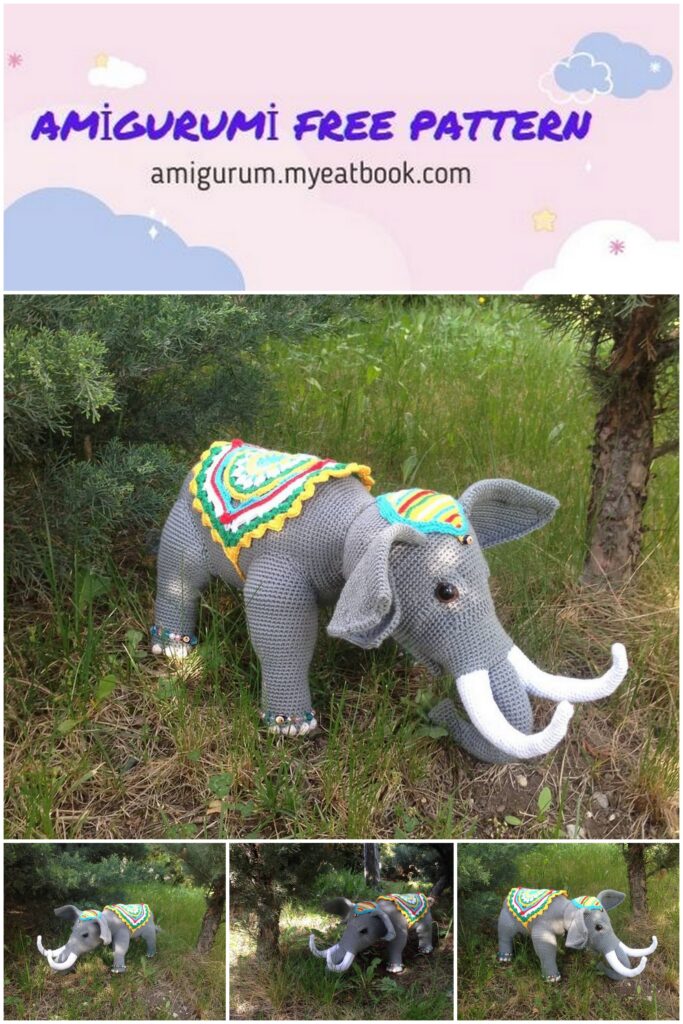
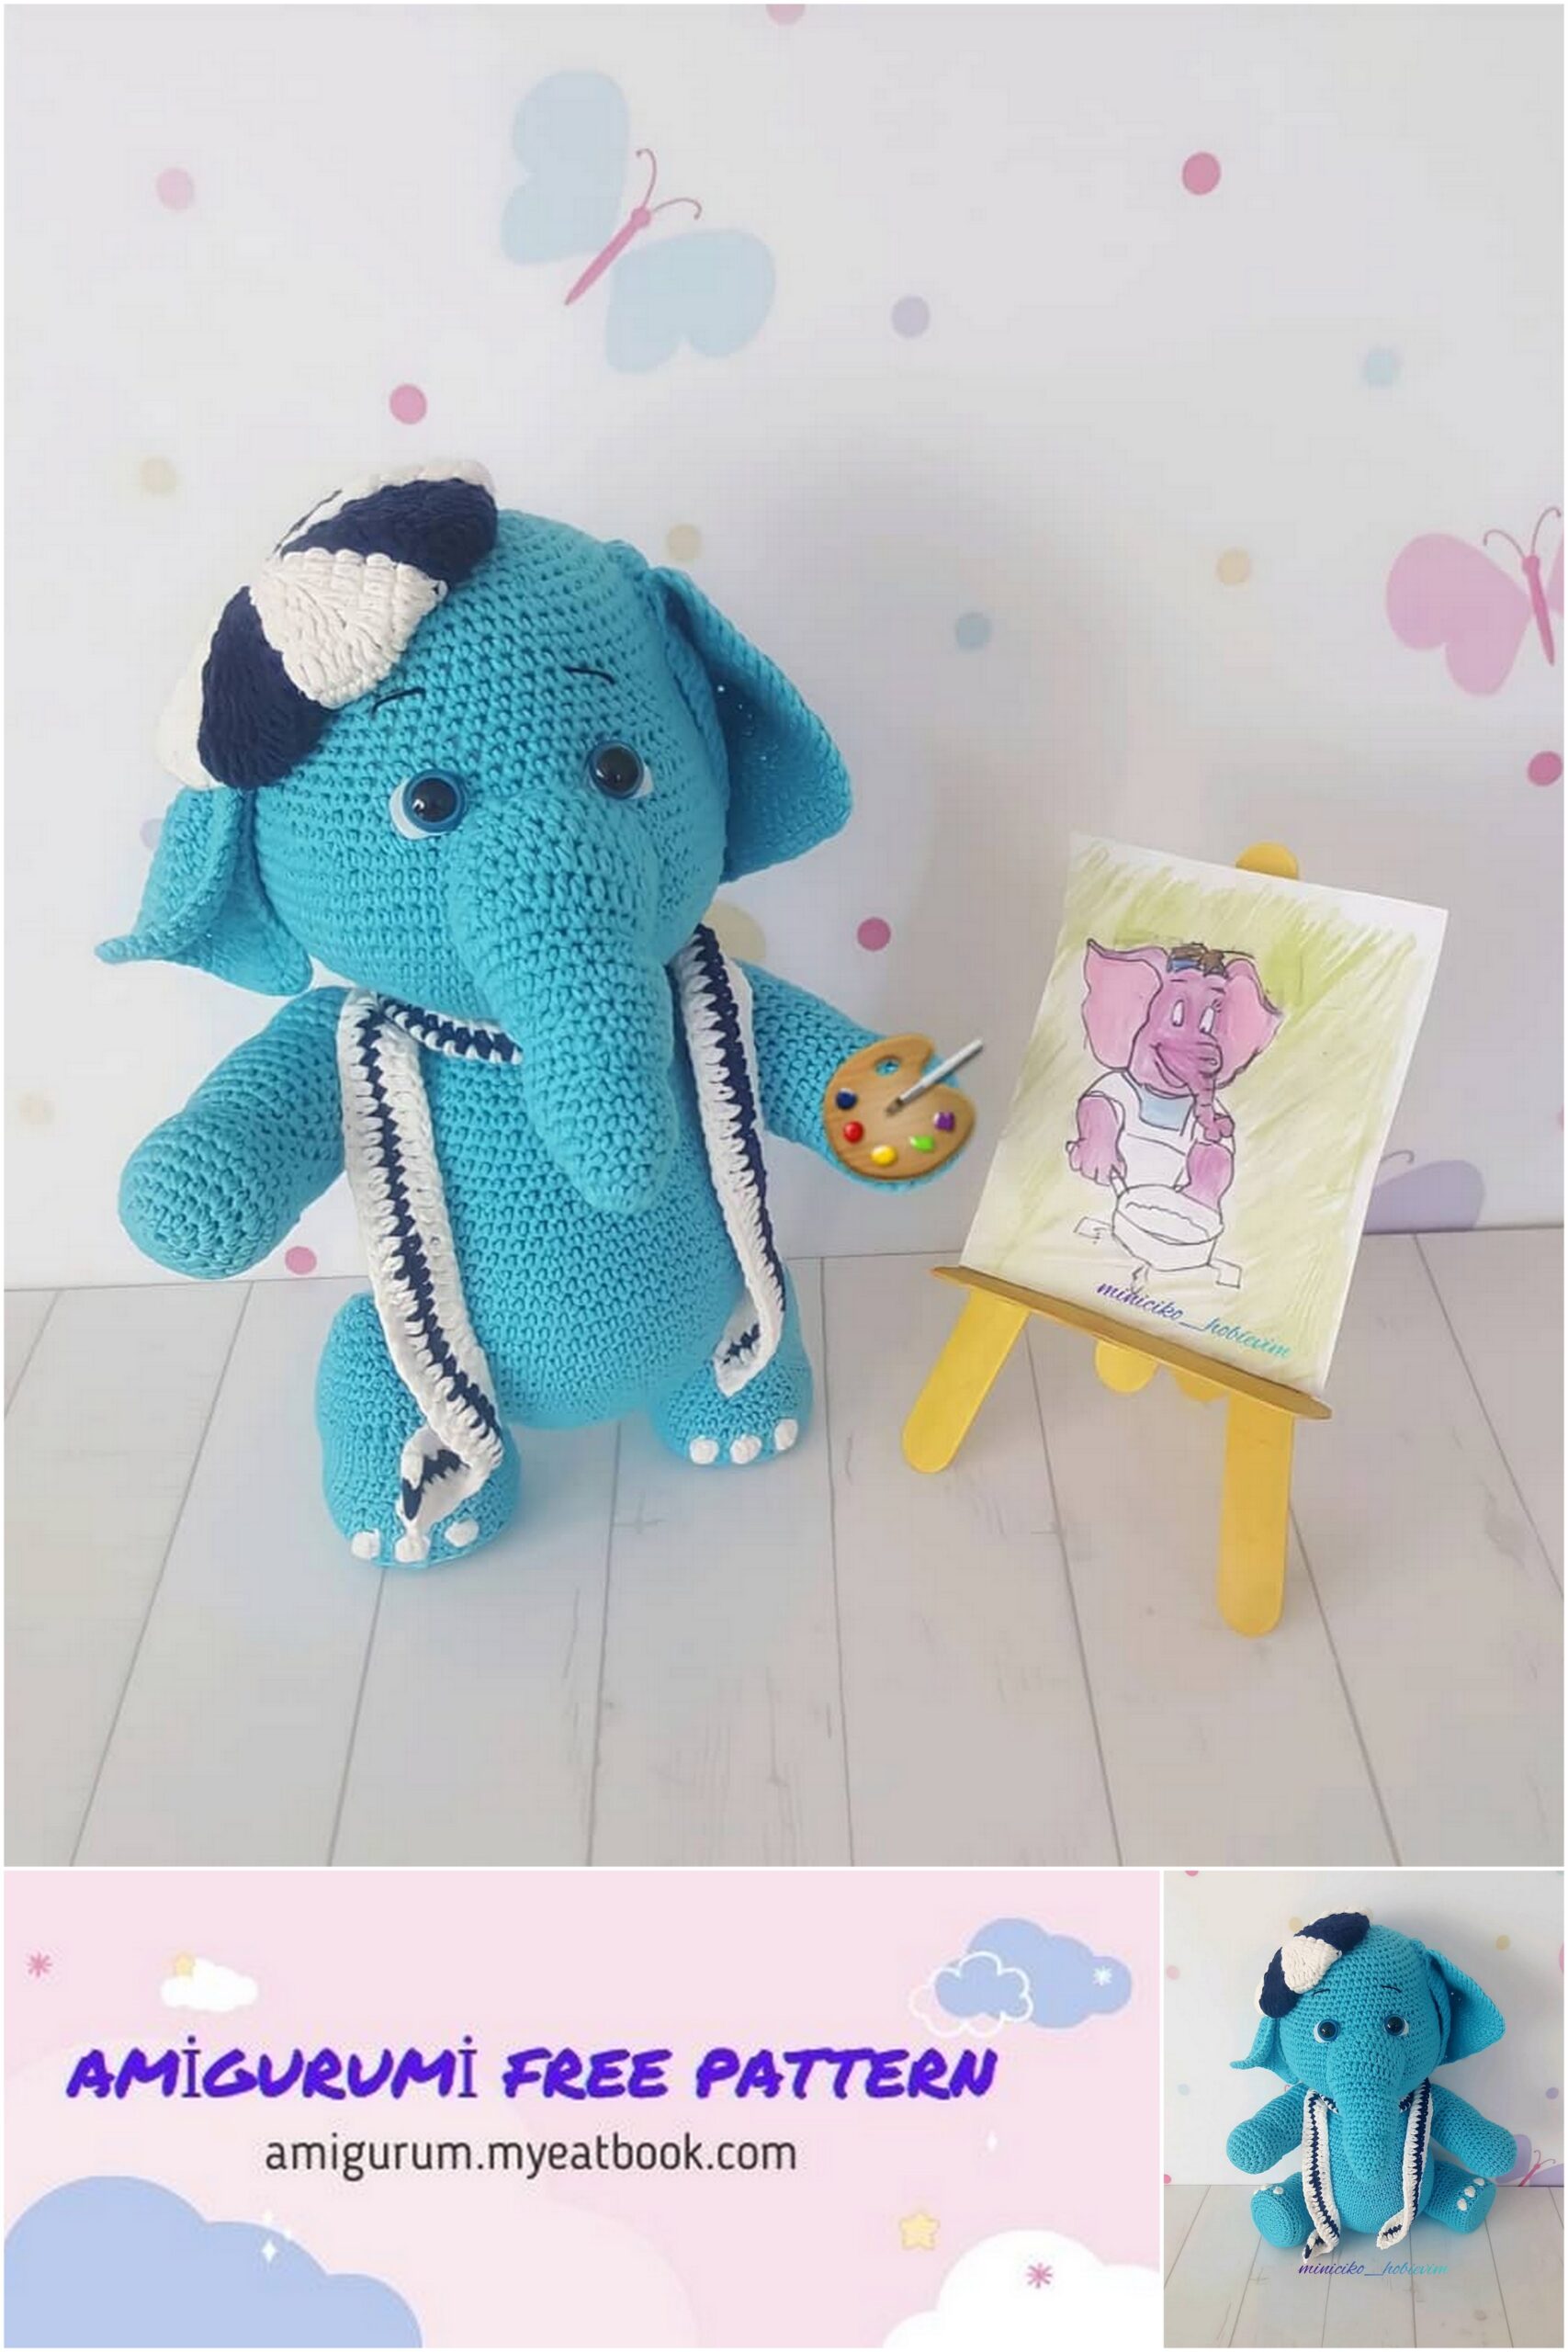
Shawl:
For the second elephant I found an pattern for a very cute shawl on Youtube, once a. I decided for the
knitted version, I knitted until the short/straight side of the cloth is about 50 cm long
and afterwards 6-8 rows of the border pattern.
Finishing:
For sewing the remaining parts you should use plain thread (e.g. thin cotton or sewing thread), because chenille yarn is really not good for sewing on, after a few stitches the thread usually dissolves.
Arms, legs, trunk and tail have already been jointed when crocheting, which reduces
the sewing work enormously, even if there is still a bit of work to do.
I sewed the head to the body first. The best way to do this is with the mattress stitch (if necessary just google, it’s very easy and results in a tight fitting head).
Make sure that the trunk is well centred at the front. TIP: If you have long, thin (one or two pointed) knitting needles, you can use them to fix the head to the body by
inserting the needles through the head and body from above – this makes sewing a
child’s play.


a

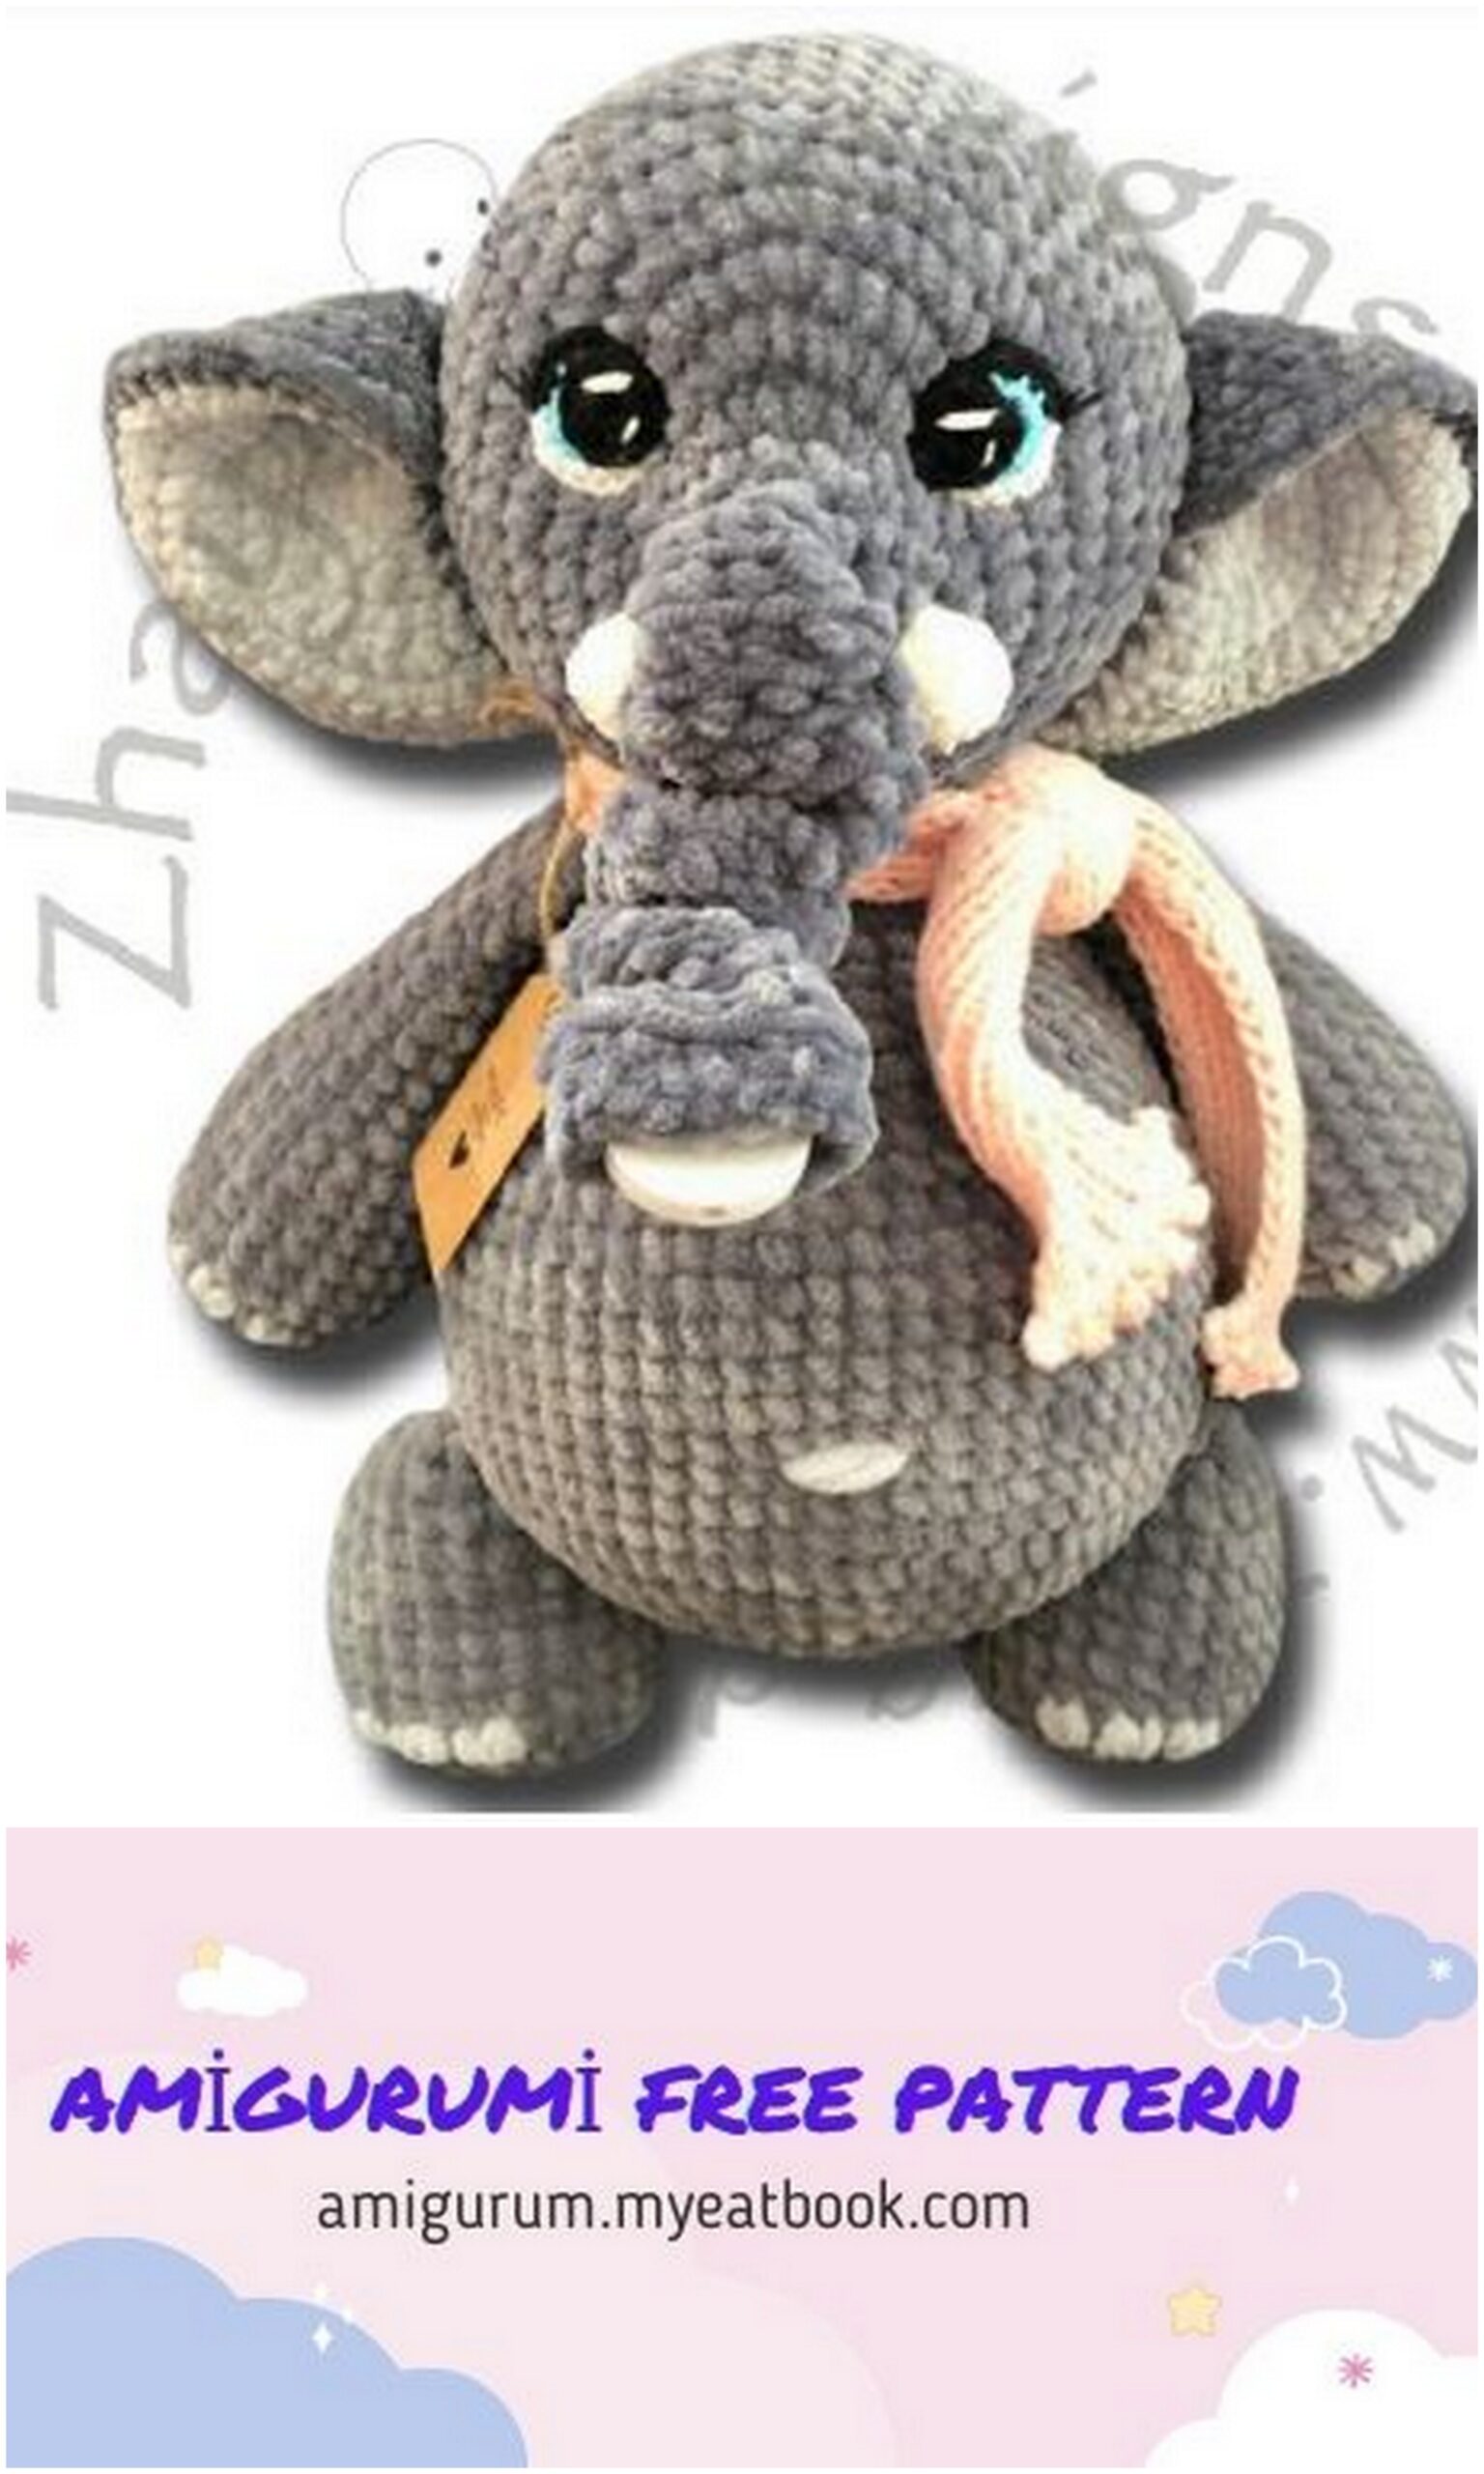
Next you pin the ears to the head, the folded part comes of course upwards, the inner ear to the front. When the ears are in place, you can sew them on. I first sewed the long side of the ear and then, to give it more stability, along the short, folded side (see photo).
Now sew on the prepared eyes. TIP: Use white thread for the white part and black thread for the black part, then you won’t see a seam. With the black thread you can also embroider eyelashes and with the white thread you can embroider highlights, if you like.
Sew the tusks left and right slightly below the trunk.
AAs last details you can now embroider a belly button (e.g. in the middle between round 13 and 14) and toes with the contrasting color (see also the following photos).