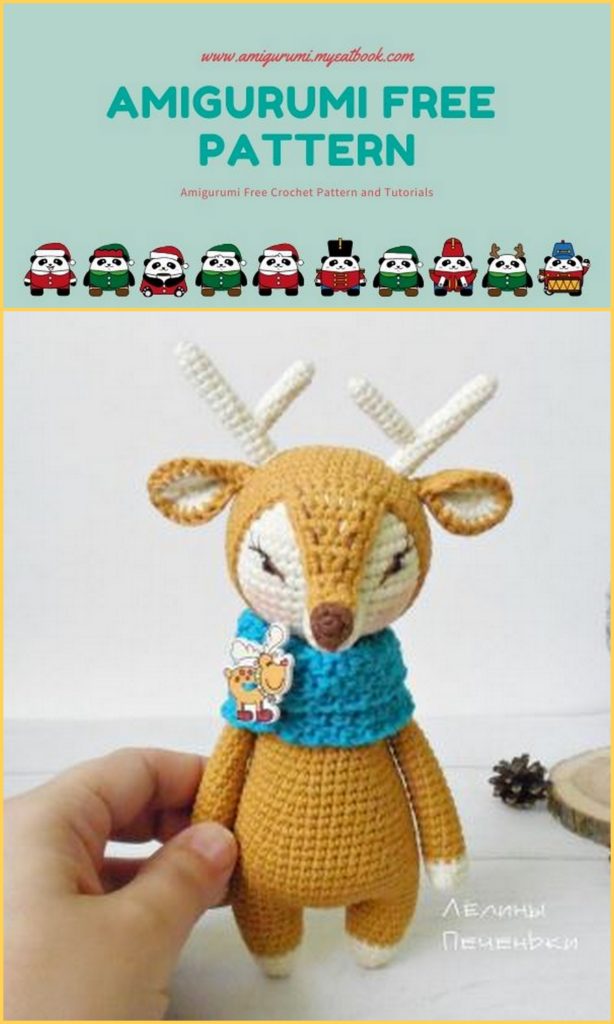
We share the amigurumi reindeer pattern for free. You can visit our website for new beautiful patterns.
Pattern: Olga Kovaleva
Stage 1.
Tail 2 identical details of the main and white color. We start with white!
We collect a chain of 8 air loops.
On the first side of the chain, into the second loop from the hook: 1 dc, 1 dc, 1hdc; 1 hdc;
1 sc: 1 sc
On the second side of the chain: 1 sc; 1 sc; 1hdc; 1 hdc; 1 dc; 1dc.
On the white part, fix the thread and cut it, on the brown one do not cut it, we will
connect the halves!
Fold both parts face out, tie the edges together 12 sc. Leave
tail for sewing.
Legs 2 identical parts.
We start in white.
1p 6 sc into magic ring
2p (1 sc, inc) X 3 = 9 sc
3p (2 sc, inc) X 3 = 12 sc
Change color to optional (scarf color)
4p 12 sc
Change the color to the main
5p (3 sc, inc) X 3 = 15 sc
6p 15 sc
7p 15 sc
8p (4 sc, inc) X 3 = 18 sc
9p 18 sc
10p (5 sc, inc) X 3 = 21 sc
11p 21 sc
Fasten and cut the thread on the first leg, continue to knit on the second 3
air loops.
Connect both legs:
12p 21 sc on the left foot + 3 sc on the air loops, 21 sc on the right foot + 3 sc on the air loops = 48 sc
13-15r 48 sc
16p (14 sc, dec) X 3 = 45 sc
17-18r 45 sc
19p (13 sc, dec) X 3 = 42 sc
20-21p 42 sc
22p (12 sc, dec) X 3 = 39 sc
23-24r 39 sc
25p (11 sc, dec) X 3 = 36 sc
26-27r 36 sc
28p (10 sc, dec) X 3 = 33 sc
29-30r 33 sc
31p (9 sc, dec) X 3 = 30 sc
32-33r 30 sc
34p (8 sc, dec) X 3 = 27 sc
35p 27 sc
36p (7 sc, dec) X 3 = 24 sc
37p (6 sc, dec) X 3 = 21 sc
38p (5 sc, dec) X 3 = 18 sc
38r (4 sc, dec) X 3 = 15 sc + knit another 5 sc
We leave a long tail, cut the thread
Stage 2.
Handles 2 parts.
We start knitting with white yarn.
1p 6 sc into magic ring
2p (1sc, 1inc) x 3 times = 9 sc
3p (2 sc, 1inc) x 3 times = 12 sc
4p 6 sc, 3 dc with one vertex, 5 sc = 12 sc
5p 12 sc (here it can turn out to be 11 sc, I don’t know how, but it turned out contrary to logic)) It’s not scary, you can knit 11 and 12
Change to an additional color (scarf color)
6p 12 (11) sc
Change to the main color.
7-22p 12 (11) sc = 12 or 11 sc
I add filler only in the palm of the hand Fold the edges and tie them sc. We leave a tail for sewing, cut the thread. If you want to sew the handles right away, place them from under 2-3 near the edge of the neck.
Horns. 3 parts, each of 2 pieces.
Part 1 (2 pieces)
1p 6 sc into magic ring
2-7r 6 sc
Leave the tail for sewing, cut the thread.
You can make the base of the horn more or less, I liked the option a little more authentic))
Part 2 (2 pieces)
1p 6 sc into magic ring
2-4p 6 sc
Leave the tail for sewing, cut the thread.
Part 3 (2 pieces)
1p 6 sc into magic ring
2-3p 6 sc
Leave the tail for sewing, cut the thread.
Sew branches to the base of the horn, preferably symmetrically)
Stage 3.
Head 1 detail. White color. Here I am making a shift in the increments – the decreases to avoid the appearance of a noticeable seam, as on the overlay. You can not do this, it does not significantly affect the appearance)
1p 6 sc into magic ring = 6 sc
2p (inc) x 6 times = 12 sc
3p (1 sc, inc) x 6 times = 18 sc
4p 1 sc, inc, (2 sc, inc) x5, 1 sc = 24 sc
5p (3 sc, inc) x 6 times = 30 sc
6p 2 sc, inc (4 sc, inc) x 5, 2 sc = 36 sc
7p (5 sc, inc) x 6 times = 42 sc
8-12r sc in each loop = 42 sc
13p (dec, 5 sc) x 6 times = 36 sc
14p 2 sc, dec (4 sc, dec) x 5, 2 sc = 30 sc
15p (3 sc, dec) x 6 times = 24 sc
16p 1 sc, dec (2 sc, dec) x 5, 1 sc = 18 sc
17p (sc, dec) x 6 times = 12 sc
18p (dec) x 6 times = 6 sc
Close the knitting, cut the thread, hide inside the part
Headpiece 1 piece. Main color.
1p 6 sc into magic ring = 6 sc
2p (inc) x 6 times = 12 sc
3p (1 sc, inc) x 6 times = 18 sc
4p 1 sc, inc, (2 sc, inc) x5, 1 sc = 24 sc
5p (3 sc, inc) x 6 times = 30 sc
6p 2 sc, inc (4 sc, inc) x 5, 2 sc = 36 sc
7p (5 sc, inc) x 6 times = 42 sc
8-11r sc in each loop = 42 sc
12p (dec, 5 sc) x 6 times = 36 sc
13p 36 sc
Then we knit the pad on the spout in swivel rows.
14p 6 sc, 1 ch, turn
15p 6 sc, 1 ch, turn
16p 6 sc, rotate (without ch!)
17р skip 1 loop, 5 sc, turn (without ch!)
18p skip 1 loop, 4 sc, rotate (without ch!)
19p skip 1 loop, 3 sc, 1 ch, turn
20p 3 sc, 1 ch, turn
21p 3 sc, turn (without ch!)
22p skip 1 loop, 2 sc, 1 ch, turn
23p 2 sc, 1 ch, turn
24p 2 sc, 1 ch
Next you need to tie the entire part along the edge of sc:
9 sc on the spout, 30 sc on the “cap” and 9 sc on the second half of the spout,
1 ch + sl-st
Leave a long tail, cut the thread.
Muzzle (nose) 1 detail of white color.
1p 5 sc into magic ring = 5 sc
2p (inc) x 5 times = 10 sc
3-4r 10 sc
5p (4 sc, inc) x 2 times = 12 sc
Leave the tail for sewing, cut the thread.
Ears 4 identical parts, 2 white and one main color. We start with white the main will be connected, as with the tail did.
1p 6 sc into magic ring = 6 sc
2p (inc) x 6 times = 12 sc
3p (1 sc, inc) x 2, 1 sc, (1 hdc, 1 dc, 1 hdc), (1 sc, inc) X 3 = 19 sc
Trim the thread on the white part. Using a needle or hook, pull the thread into
the next loop and back to the last loop.
Put together 2 parts and tie sc with the thread of the main color:
9 sc, (1 hdc, 1dc, 1 ch, 1 dc, 1 hdc) ONE LOOP !!! , 9 sc
Fold the eyelet and tie the bottom of 4 sc and 1 sl-st. Leave the tail, cut the thread.
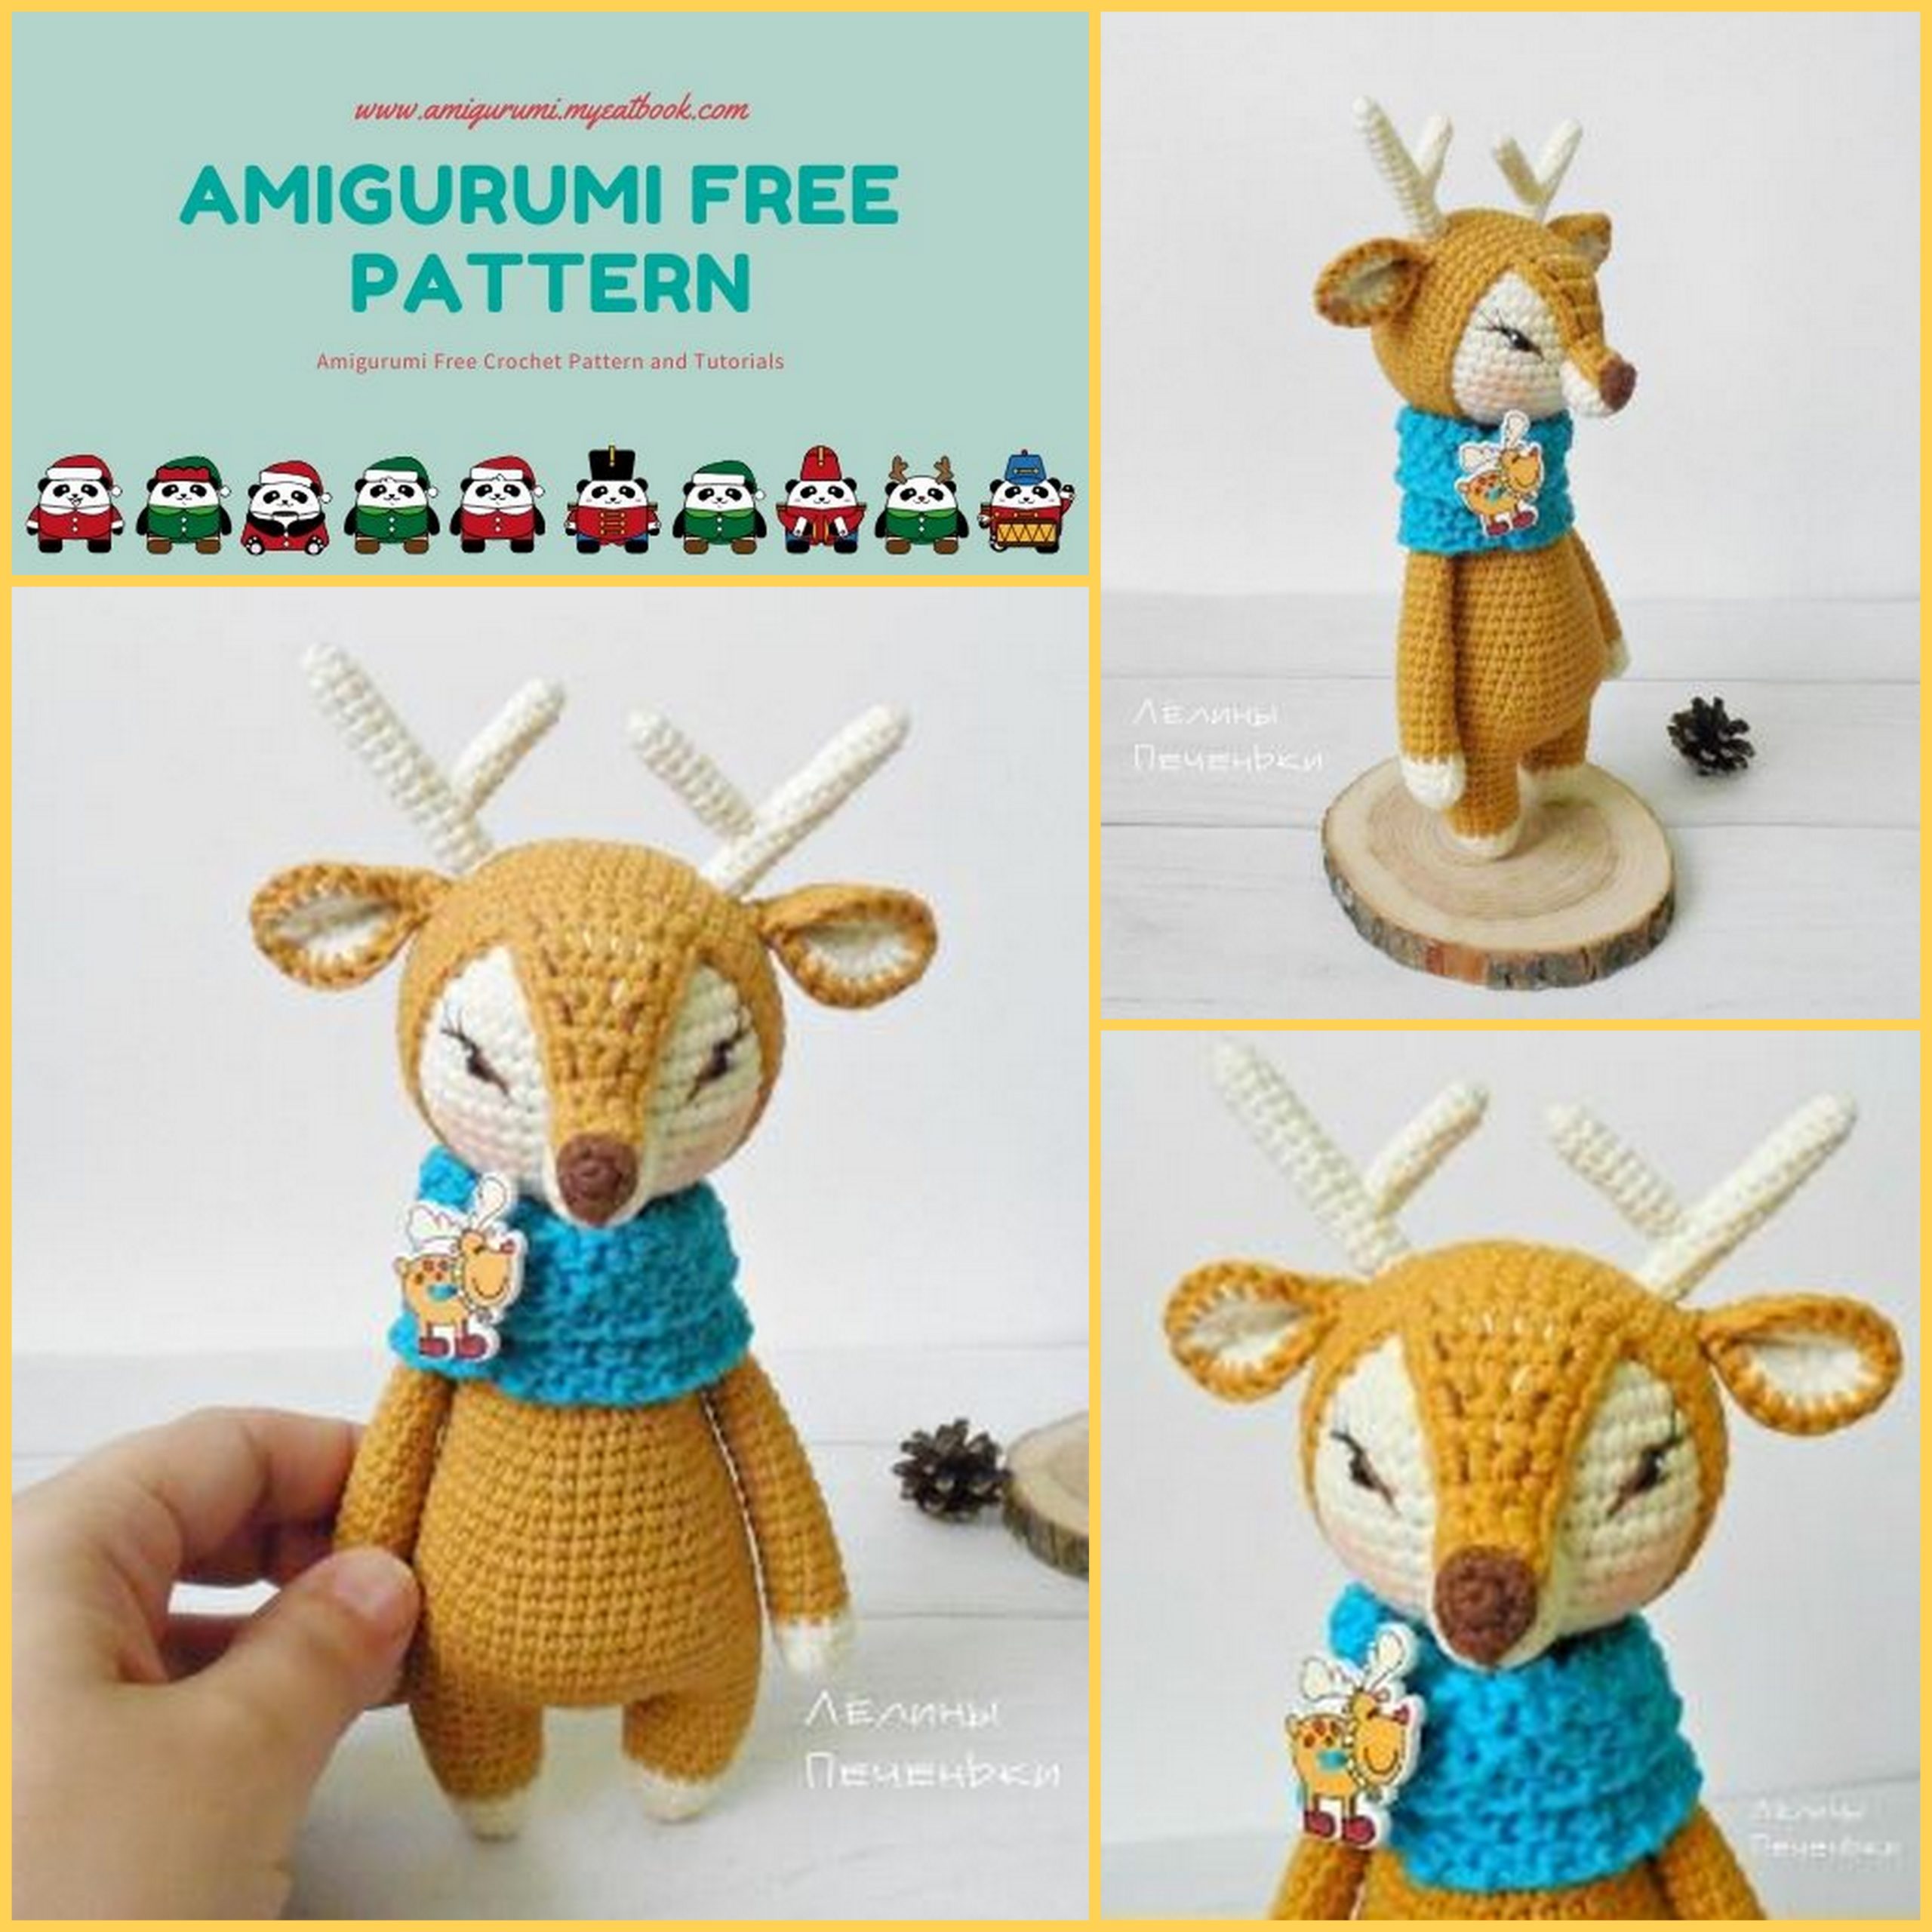
Assembly and design.
Putting the head together.
On a white ball, you need to carefully put on the cap. Watch to get
as smooth as possible.
Next we sew the nose. Positioning it just below the middle of the muzzle.
We begin to sew the “cap” on from the nose. Gently along the contour of the lining, further along the head and along the second half of the spout.
All the ponytails of the threads are displayed in the lower part of the head, so where it will connect to the body.
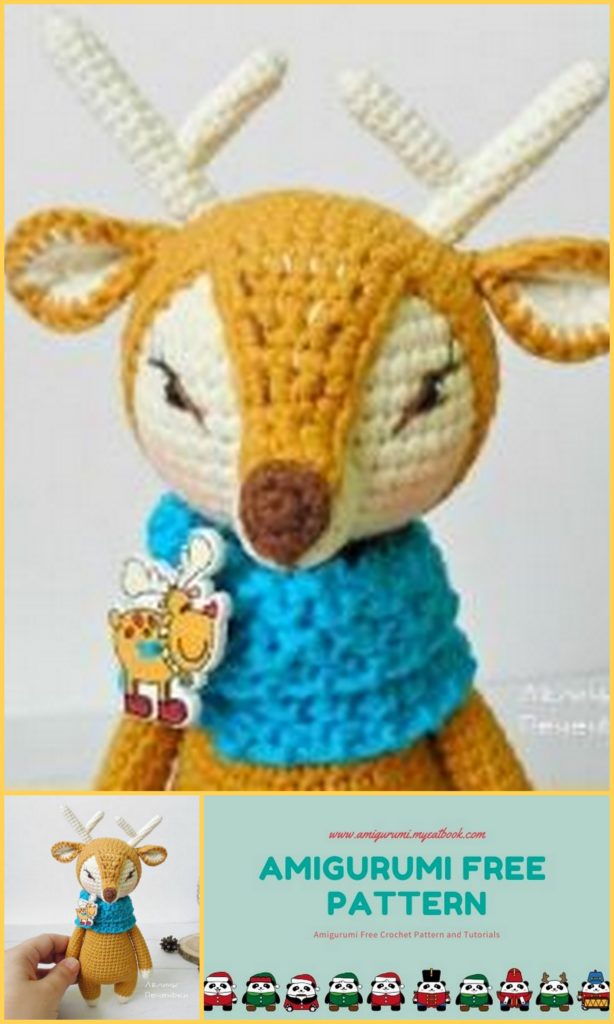
When the parts of the head are assembled, we sew the ears and horns. White thread embroider spots on the forehead.
Embroider eyes and nose to your liking)
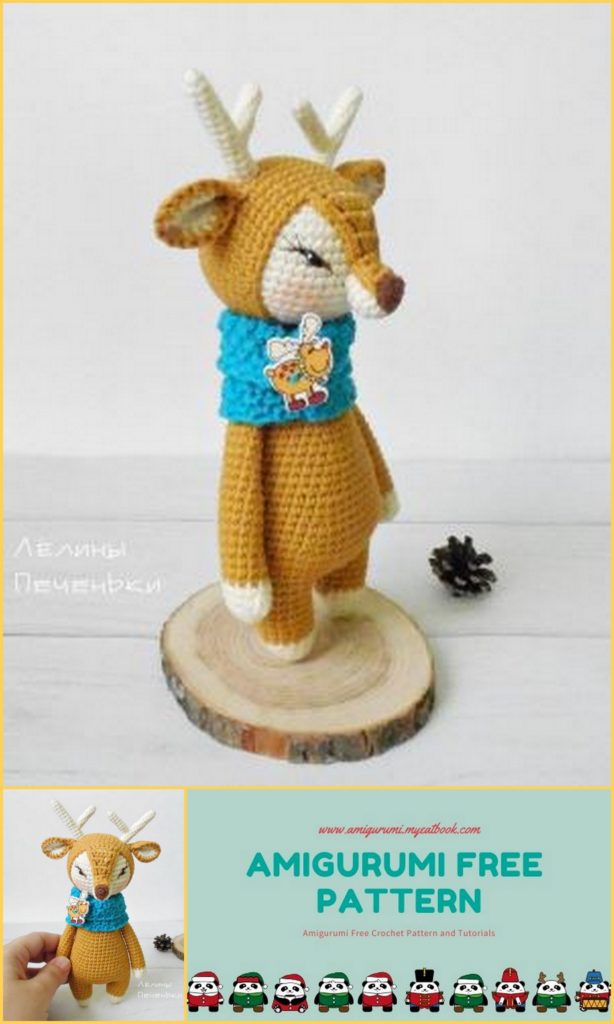
Sew the head to the body. Sew pens and tail.
Snood: dial 13 ch, start in the second loop from the hook: 12 sc for the back half-loop, 1ch, turn the knitting. We knit to the desired length. The edges of the hem stitch sc already on the toy.
Sew a ponytail.
Your fawn is ready!